39-Rust 教程 - CLI 工具开发

39-Rust 教程 - CLI 工具开发

LarryLan
发布于 2026-06-25 17:05:49
发布于 2026-06-25 17:05:49
LI 工具开发
命令行工具开发:让你的程序学会"听人话"——clap 参数解析全攻略
🎬 引入
你有没有想过,为什么那些好用的命令行工具(比如 git、grep、ripgrep)用起来那么顺手?你敲 git commit -m "fix: bug",它就懂你要提交;你敲 ls -la,它就给你详细列表。
秘密就在参数解析。
今天咱们就来聊聊怎么用 Rust 开发一个"听得懂人话"的 CLI 工具。我会带你从零开始,用 clap 这个神器,写出一个连你妈都能用的命令行工具。
别担心,这比你想象的简单多了。我刚开始学的时候,以为参数解析得自己写一堆 if args[1] == "-h" 这种鬼代码,结果发现 clap 早就帮咱们把活儿干完了。
📌 核心概念
什么是 CLI 工具?
CLI = Command Line Interface,命令行界面。简单说就是那种在终端里跑的程序,你输入命令,它干活。
生活化类比: CLI 工具就像餐厅的服务员。你点菜(输入命令),服务员(CLI 程序)听懂你的需求,然后告诉厨房(程序逻辑)做什么。如果服务员听不懂你说"微辣",那你就惨了。
clap 是什么?
clap 是 Rust 生态中最流行的命令行参数解析库。它的作用是:
- 帮你定义程序接受哪些参数
- 自动解析用户输入
- 生成帮助文档(
--help) - 验证参数合法性
类比: clap 就像个翻译官。用户说"我要 -v 模式",clap 翻译成 verbose = true 给你的程序。
CLI 工具的三要素
- 参数解析 - 听懂用户说什么
- 文件操作 - 读写文件干活
- 错误处理 - 出错了别直接崩
💻 代码示例
第一步:创建项目
cargo new my_cli_tool
cd my_cli_tool
修改 Cargo.toml,添加依赖:
[package]
name = "my_cli_tool"
version = "0.1.0"
edition = "2021"

[dependencies]
clap = { version = "4.4", features = ["derive"] }
anyhow = "1.0"
吐槽时间: 看到 features = ["derive"] 没?这是 clap 的宏支持,让你能用 #[derive(Parser)] 这种爽歪歪的语法。不加这个,你就得手写一堆样板代码。
第二步:基础参数解析
// src/main.rs
use clap::Parser;

/// 我的超棒 CLI 工具 - 能干很多厉害的事情
#[derive(Parser, Debug)]
#[command(author, version, about, long_about = None)]
struct Args {
    /// 要处理的文件名
    #[arg(short, long)]
    file: String,

    /// 输出文件名(可选)
    #[arg(short, long)]
    output: Option<String>,

    /// 是否启用详细模式
    #[arg(short, long, default_value_t = false)]
    verbose: bool,

    /// 处理次数
    #[arg(short, long, default_value_t = 1)]
    count: i32,
}

fn main() {
    let args = Args::parse();

    println!("文件:{}", args.file);
    println!("输出:{:?}", args.output);
    println!("详细模式:{}", args.verbose);
    println!("次数:{}", args.count);
}
运行试试:
cargo run -- --file input.txt --output output.txt -v --count 3
输出:
文件:input.txt
输出:Some("output.txt")
详细模式:true
次数:3
爽不爽? 就这么几行代码,clap 帮你搞定了:
-f/--file短长参数都支持- 必填/可选参数自动处理
- 类型转换(
i32) - 默认值
--help自动生成
第三步:看看自动生成的帮助文档
cargo run -- --help
输出:
我的超棒 CLI 工具 - 能干很多厉害的事情

Usage: my_cli_tool [OPTIONS] --file <FILE>

Options:
  -f, --file <FILE>        要处理的文件名
  -o, --output <OUTPUT>    输出文件名(可选)
  -v, --verbose            是否启用详细模式
  -c, --count <COUNT>      处理次数 [default: 1]
  -h, --help               Print help
  -V, --version            Print version
看到了吗? 你连帮助文档都不用写,clap 从你的注释里自动提取!
第四步:添加文件操作
use clap::Parser;
use std::fs;
use std::path::Path;
use anyhow::{Context, Result};

#[derive(Parser, Debug)]
#[command(author, version, about)]
struct Args {
    /// 输入文件
    #[arg(short, long)]
    input: String,

    /// 输出文件
    #[arg(short, long)]
    output: Option<String>,

    /// 详细模式
    #[arg(short, long, default_value_t = false)]
    verbose: bool,
}

fn main() -> Result<()> {
    let args = Args::parse();

    // 检查输入文件是否存在
    if !Path::new(&args.input).exists() {
        anyhow::bail!("文件不存在:{}", args.input);
    }

    // 读取文件
    let content = fs::read_to_string(&args.input)
        .with_context(|| format!("读取文件失败:{}", args.input))?;

    if args.verbose {
        println!("📄 读取了 {} 字节", content.len());
        println!("📝 行数:{}", content.lines().count());
    }

    // 处理内容(这里简单转大写)
    let processed = content.to_uppercase();

    // 写入输出
    let output_path = args.output.as_ref().unwrap_or(&"output.txt".to_string());
    fs::write(output_path, &processed)
        .with_context(|| format!("写入文件失败:{}", output_path))?;

    println!("✅ 处理完成!输出:{}", output_path);

    Ok(())
}
运行:
cargo run -- -i input.txt -o output.txt -v
输出:
📄 读取了 1024 字节
📝 行数:42
✅ 处理完成!输出:output.txt
第五步:进阶 - 子命令(像 git 那样)
use clap::{Parser, Subcommand};

#[derive(Parser, Debug)]
#[command(author, version, about)]
struct Cli {
    /// 要执行的命令
    #[command(subcommand)]
    command: Commands,
}

#[derive(Subcommand, Debug)]
enum Commands {
    /// 添加文件到仓库
    Add {
        /// 要添加的文件
        #[arg(required = true)]
        files: Vec<String>,

        /// 是否递归添加
        #[arg(short, long, default_value_t = false)]
        recursive: bool,
    },
    /// 提交更改
    Commit {
        /// 提交信息
        #[arg(short, long, required = true)]
        message: String,

        /// 作者(可选)
        #[arg(short, long)]
        author: Option<String>,
    },
    /// 查看状态
    Status,
    /// 查看日志
    Log {
        /// 显示条数
        #[arg(short, long, default_value_t = 10)]
        limit: usize,
    },
}

fn main() {
    let cli = Cli::parse();

    match &cli.command {
        Commands::Add { files, recursive } => {
            println!("📥 添加文件:{:?}", files);
            println!("递归:{}", recursive);
        }
        Commands::Commit { message, author } => {
            println!("💾 提交:{}", message);
            println!("作者:{:?}", author);
        }
        Commands::Status => {
            println!("📊 查看状态...");
        }
        Commands::Log { limit } => {
            println!("📜 显示最近 {} 条日志", limit);
        }
    }
}
试试子命令:
cargo run -- add file1.txt file2.txt -r
cargo run -- commit -m "fix: bug"
cargo run -- status
cargo run -- log -l 5
帮助文档也自动支持子命令:
cargo run -- --help
cargo run -- add --help
🐛 常见坑点
坑 1:忘记加 derive 特性
错误:
# 错误写法
clap = "4.4"
编译错误:
error: cannot find derive macro `Parser` in this scope
解决:
clap = { version = "4.4", features = ["derive"] }
吐槽: 这个错误我犯了三次。clap 的文档写得跟天书似的,我愣是没看到 features 那行小字。
坑 2:必填参数没写
错误:
struct Args {
    #[arg(short, long)]
    file: String,  // 没写 required
}
运行时: 用户不传 --file,程序崩溃,错误信息巨难懂。
解决:
#[arg(short, long, required = true)]
file: String,
或者直接用 Option:
#[arg(short, long)]
file: Option<String>,  // 可选
坑 3:类型转换失败
错误:
#[arg(short, long, default_value_t = 1)]
count: i32,
用户输入 --count abc,程序直接 panic。
解决: clap 会自动处理类型转换错误,给出友好的错误信息:
error: invalid value 'abc' for '--count <COUNT>': invalid digit found in string
但如果想自定义错误信息:
use clap::error::ErrorKind;

// 手动验证
if args.count <  {
    eprintln!("错误:次数不能为负数");
    std::process::exit();
}
坑 4:文件路径包含空格
错误:
# 用户输入
cargo run -- -i "my file.txt"
问题: 如果没正确处理,空格会被当成参数分隔符。
解决: clap 自动处理引号,但你要确保在代码里正确处理路径:
use std::path::PathBuf;

#[arg(short, long)]
input: PathBuf,  // 用 PathBuf 而不是 String
🎯 实战案例
案例:批量图片压缩工具
来做个实用的:批量压缩图片的 CLI 工具。
use clap::Parser;
use std::path::{Path, PathBuf};
use std::fs;
use anyhow::{Context, Result};

/// 🖼️ 图片压缩工具 - 批量压缩图片,节省空间
#[derive(Parser, Debug)]
#[command(author, version, about)]
struct Args {
    /// 输入目录
    #[arg(short, long)]
    input: PathBuf,

    /// 输出目录(默认创建 output 子目录)
    #[arg(short, long)]
    output: Option<PathBuf>,

    /// 压缩质量 (1-100)
    #[arg(short, long, default_value_t = 80)]
    quality: u8,

    /// 目标格式 (jpg, png, webp)
    #[arg(short, long, default_value = "jpg")]
    format: String,

    /// 递归处理子目录
    #[arg(short, long, default_value_t = false)]
    recursive: bool,

    /// 详细模式
    #[arg(short, long, default_value_t = false)]
    verbose: bool,
}

fn main() -> Result<()> {
    let args = Args::parse();

    // 验证参数
    if args.quality ==  || args.quality >  {
        anyhow::bail!("质量必须在 1-100 之间");
    }

    // 检查输入目录
    if !args.input.exists() {
        anyhow::bail!("输入目录不存在:{}", args.input.display());
    }

    // 创建输出目录
    let output_dir = args.output.unwrap_or_else(|| {
        args.input.join("output")
    });
    fs::create_dir_all(&output_dir)
        .with_context(|| format!("创建输出目录失败:{}", output_dir.display()))?;

    if args.verbose {
        println!("📁 输入:{}", args.input.display());
        println!("📁 输出:{}", output_dir.display());
        println!("🎯 质量:{}", args.quality);
        println!("📐 格式:{}", args.format);
    }

    // 收集文件
    let mut files = Vec::new();
    collect_files(&args.input, &mut files, args.recursive)?;

    if args.verbose {
        println!("📊 找到 {} 个文件", files.len());
    }

    // 处理每个文件
    for file in files {
        process_file(&file, &output_dir, &args)?;
    }

    println!("✅ 处理完成!");

    Ok(())
}

fn collect_files(dir: &Path, files: &mut Vec<PathBuf>, recursive: bool) -> Result<()> {
    for entry in fs::read_dir(dir)
        .with_context(|| format!("读取目录失败:{}", dir.display()))?
    {
        let entry = entry?;
        let path = entry.path();

        if path.is_file() {
            let ext = path.extension().and_then(|e| e.to_str()).unwrap_or("");
            if ["jpg", "jpeg", "png", "webp"].contains(&ext.to_lowercase().as_str()) {
                files.push(path);
            }
        } else if path.is_dir() && recursive {
            collect_files(&path, files, recursive)?;
        }
    }
    Ok(())
}

fn process_file(input: &Path, output_dir: &Path, args: &Args) -> Result<()> {
    let filename = input.file_name().unwrap().to_str().unwrap();
    let output_path = output_dir.join(filename);

    if args.verbose {
        println!("🔄 处理:{}", filename);
    }

    // 这里应该是实际的图片处理逻辑
    // 为示例简单复制文件
    fs::copy(input, &output_path)
        .with_context(|| format!("复制文件失败:{}", filename))?;

    Ok(())
}
使用:
# 基础用法
image-compress -i ./photos

# 指定输出目录和质量
image-compress -i ./photos -o ./compressed -q 60

# 递归处理,转 webp 格式
image-compress -i ./photos -r -f webp -v
🧠 思维导图
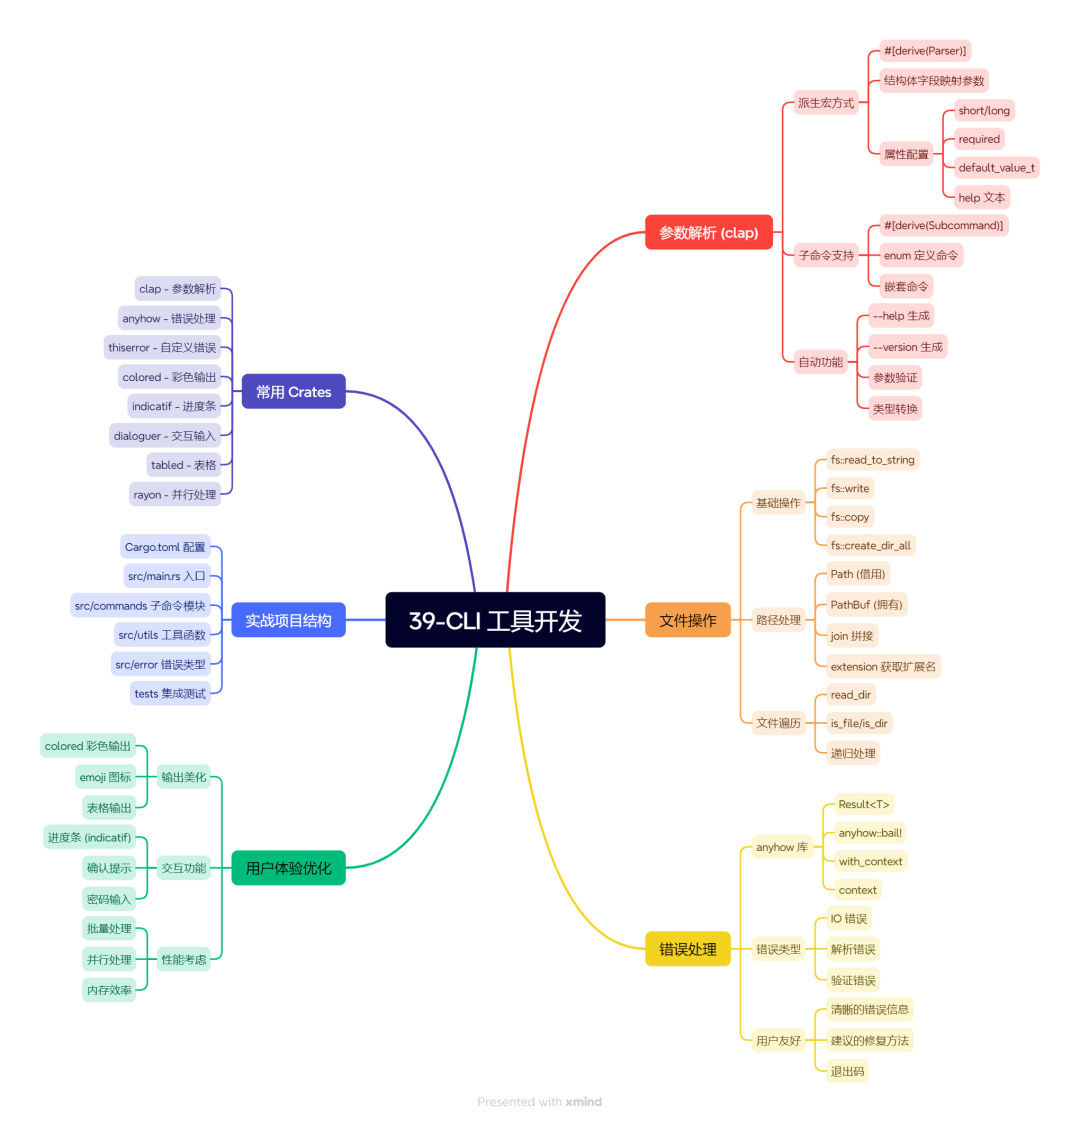
39-CLI 工具开发
📝 小结
核心要点:
- clap 是 CLI 开发的神器 - 用
derive宏,几行代码搞定参数解析 - 帮助文档自动生成 - 写好注释,
--help自动漂亮 - 子命令让工具更专业 - 学 git,一个工具干多件事
- 错误处理要友好 - 用
anyhow+with_context,用户看得懂 - 文件操作用
PathBuf- 跨平台,处理空格和特殊字符
金句:
好的 CLI 工具,用户不用看文档就会用。
参数解析不是你的工作,是 clap 的工作。
错误信息写得好,用户少骂你一句。
下篇预告:
CLI 工具写好了,怎么让它提供 HTTP 服务?下篇咱们聊聊 Web 服务开发,用 Axum 写个 REST API,让你的程序能上网!
🔗 参考资料
- clap 官方文档
- clap 教程
- anyhow 文档
- Rust CLI 工作台
本文参与 腾讯云自媒体同步曝光计划,分享自微信公众号。
原始发表:2026-06-23,如有侵权请联系 cloudcommunity@tencent.com 删除
评论
登录后参与评论
推荐阅读
目录
腾讯云开发者

Copyright © 2013 - 2026 Tencent Cloud. All Rights Reserved. 腾讯云 版权所有
深圳市腾讯计算机系统有限公司 ICP备案/许可证号:粤B2-20090059 ![]() 粤公网安备44030502008569号
粤公网安备44030502008569号
腾讯云计算(北京)有限责任公司 京ICP证150476号 | 京ICP备11018762号